Fighting the COVID-19 Coronavirus with VMware Fusion and Folding At Home
Writeup about using the Folding At Home OVA Appliance
Help Eradicate Coronavirus COVID-19 with your spare CPU cycles
» Quick Link to the OVA Appliance
What a time to be alive.
I’m writing this from my apartment in San Francisco where I’ve been sheltering in place for almost 2 weeks now.
Personally I had been wondering just how I could help, beyond just applying the rules of today… social distancing, not panic-buying, keeping in touch with friends and family with Zoom and FaceTime, trying to limit time spend on Facebook (okay that last one I’m having a hard time with, but still…).
All that stuff is good, but surely there has to be more to do without putting anyone at risk, right?
Well thankfully I’m not the only one thinking that.
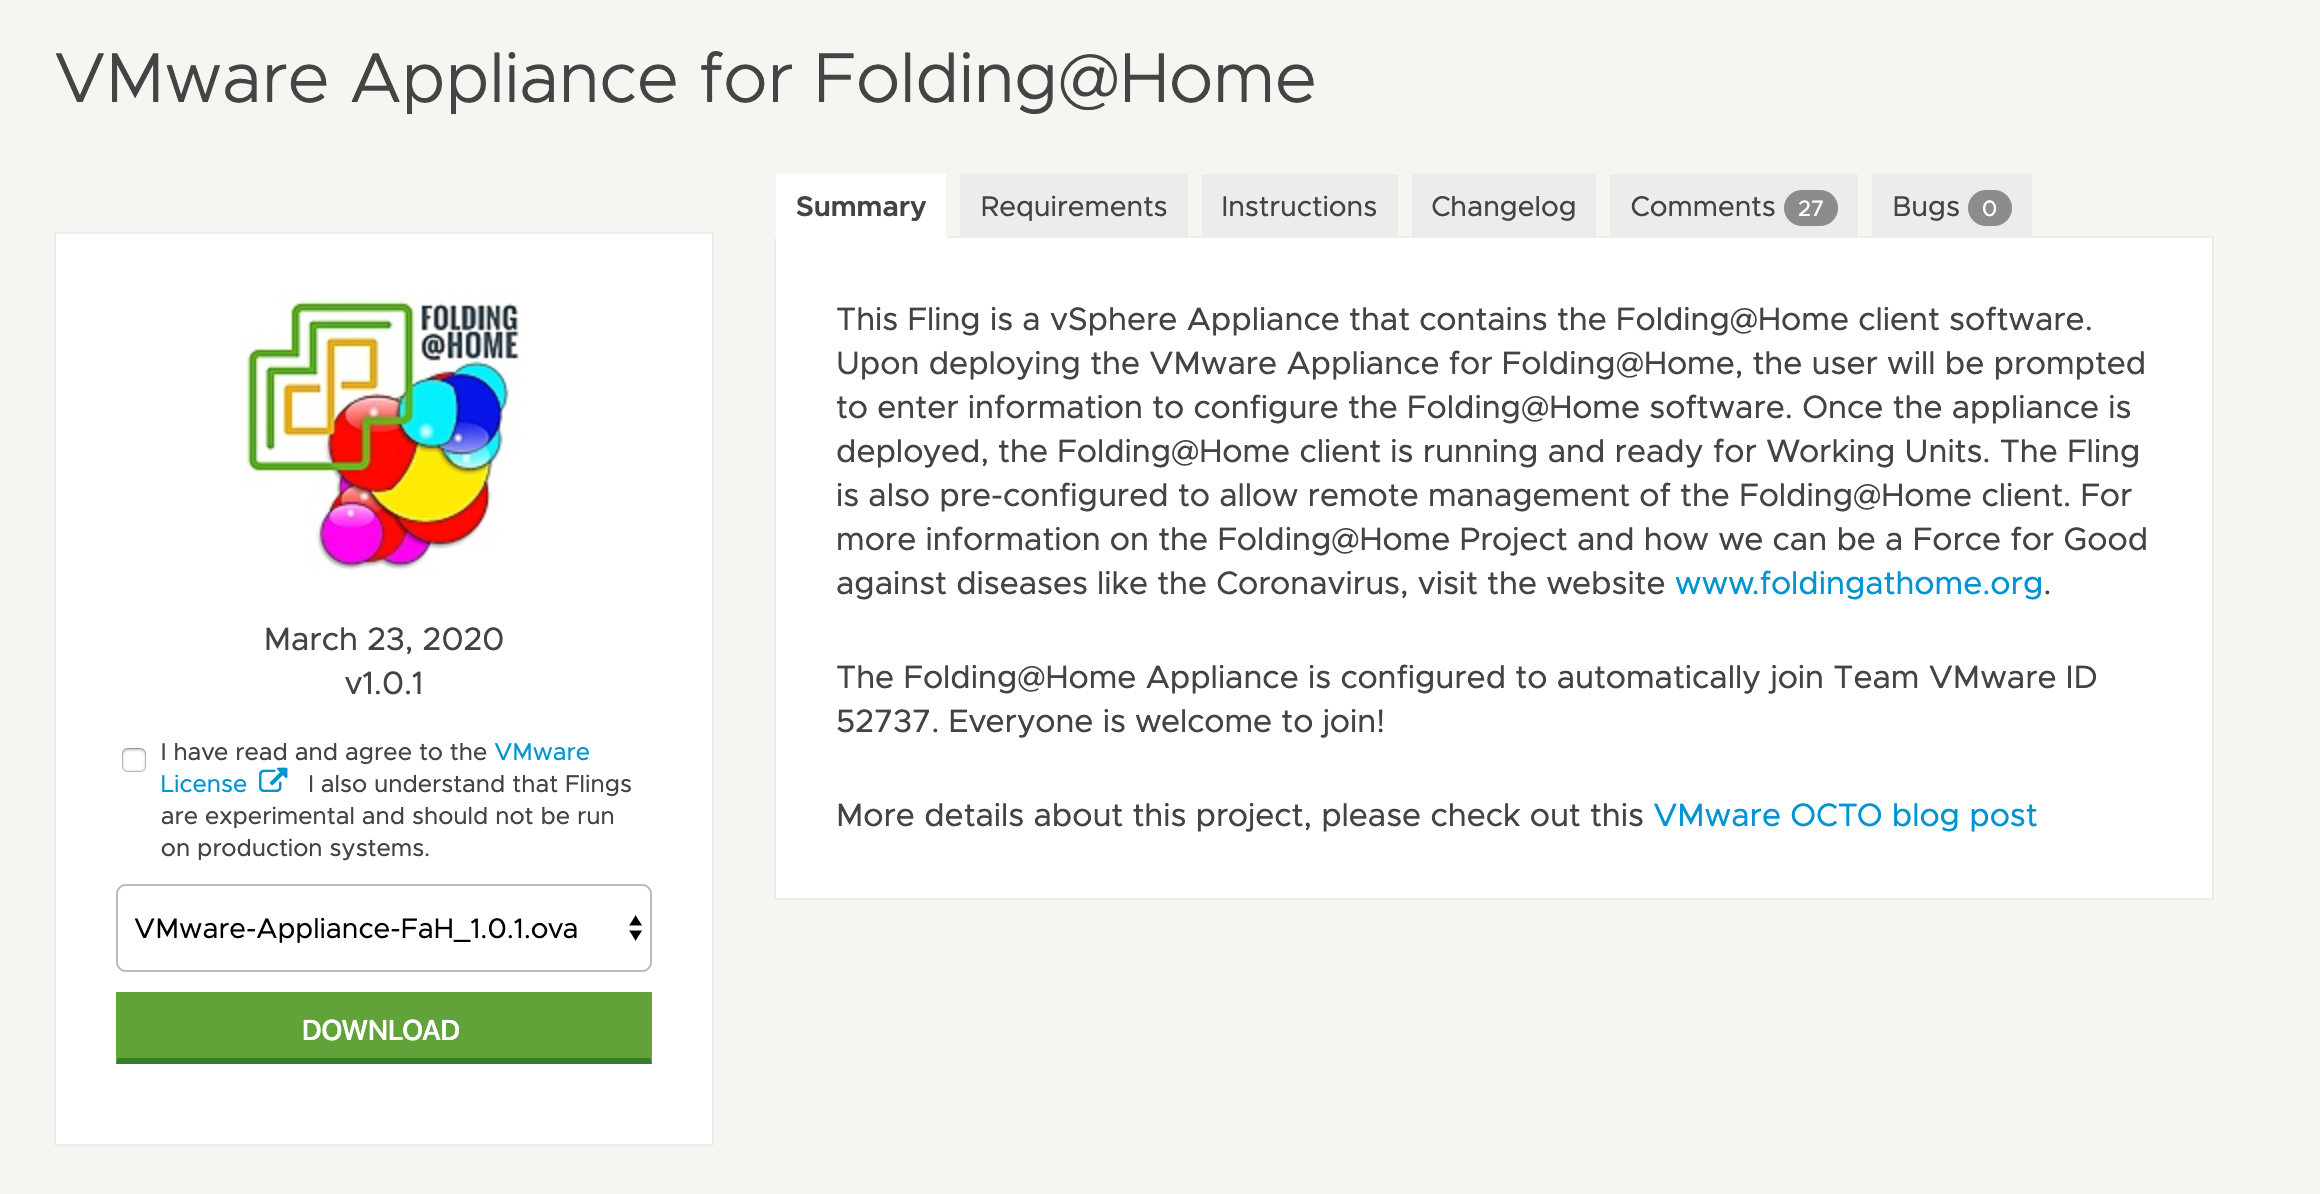
My friends and colleagues William Lam and Amanda Blevins, along with the support of the VMware community, have taken the onus to put together a free virtual appliance that can contribute your spare CPU cycles to the Folding At Home project.
More details: Link: A Force For Good: VMware Appliance for Folding at Home
Basically, the appliance creates a virtual machine that’s all set up with what it needs to start crunching numbers to aid research into the COVID-19 Coronavirus.
The first release did not support deployment on Fusion and Workstation due to some inconsistencies in the OVA profile, but we’ve worked to address that in today’s 1.0.1 release.
So let’s look at how to download and get to crunching numbers with it on Fusion.
Getting The Appliance
Downloading the appliance is easy. Just go to the link below and click ‘download’.
The download is about 250MG and the VM it creates ends up being about 750MB, so it’s a pretty small appliance.
Once the download starts, click the drop down and change the download item to grab the FAQ and the Deployment Steps PDF files.
Once downloaded, you’ll need to ‘import’ the OVA.
You can do this from the File menu, or by just double-clicking the downloaded .ova package.
The import process creates a copy of the appliance as a virtual machine.
Installation
The installation process goes like this:
- Download the OVA
- File > Import…
- Select the .ova file you just downloaded
- Click ‘Continue’ to bring up the configuration window
- Configure the appliance as follows:
- Networking
- (Optional) Set the Hostname
- Leave IP and other settings as they are
- Proxy Settings (Optional)
- Only configure this if your host requires a Proxy
- OS Credentials
- Provide a root password (VMware1! is the default)
- Folding At Home (F@H) Settings
- You can leave these as they are, or configure as needed (it won’t prevent installation, and you can easily re-deploy if you want to change something)
- Note: Fusion and Workstation do not unfortunately support the ‘GPU’ mode, so you’ll have to leave that unchecked
- The OVA Properties are already configured to add your compute cycles to Link: TeamVMware (ID is 52737, you can check out our stats here: stats.foldingathome.org/team/52737 )
- The default Folding profile is set to ‘medium’ which won’t try to take every last drop of CPU, making it a good option if you’re using the system while folding. Otherwise, if it’s a spare rig, bump that to “Full” to be more aggressive.
- The F@H Remote Management console has a default password set of VMware1!, but you may change it if you wish before deploying.
- Networking
- Click ‘Continue’
- Provide a file path to save the VM to and click ‘Save’
- At this point you may want to configure some of the CPU and RAM settings, but if you click ‘Cancel’ at this stage it will trash the newly created VM.
- Click ‘Finish’
At this point, the VM automatically starts up.
What I do here is quickly ‘Power Off’ the VM so that I can assign more CPU cores and RAM.
- Go to the Virtual Machine menu and select ‘Shut Down’, (or hold ‘Option’ and click ‘Power Off’ to really pull the plug…)
- Open the VM settings and add more CPU cores and RAM. Default is 2 cores and 1GB of RAM.
-
How many cores you want to assign depends on what you’re using the system for.
If it’s your daily driver you probably don’t want more than half your available CPU cores.
If it’s a separate machine that isn’t actively being used, I generally leave 2 cores for the OS and assign the rest to the VM.
-
After Deployment
After getting your settings right, it’s time to power on the VM for real.
It should run a few maintenance tasks, and then present you with a prompt.

Once it’s powered on, you can SSH into it to control it.
There are more details and context available in the FAQ guide posted on the appliance download page
Caveats
Personally I had a few issues deploying it…

- Bridged networking didn’t work for me
- I had to use NAT, but that didn’t change any of the functionality.
- I switched to NAT while the VM was booting up and hung on ‘scanning for network’. As soon as I swiched to NAT from Bridged (Autodetect), everything started working.
- If I were managing it remotely, I would need to do some port forwarding in Fusion’s Network Editor for the vmnet it’s on. (details on what ports are needed are in the FAQ and deployment guides)
- Sometimes it wouldn’t accept my new root password…
- VMware1! is the default, and that worked anyhow
- I had to use NAT, but that didn’t change any of the functionality.
That’s basically all there is to it. It will sit and wait for Work Units to calculate.
You can check to see if it’s running any jobs or do some troubleshooting: (from either the console window or by SSH’ing into the VM. sshd is started by default.)
- Check the status of the Service:
/etc/init.d/FAHClient status
- You can restart the services with
/etc/init.d/FAHClient stop /etc/init.d/FAHClient start
Or
/etc/init.d/FAHClient restart
You can then view the logs as below
/etc/init.d/FAHClient log -v
Or:
less /var/lib/fahclient/log.txt
Welcome to the front lines of the war against COVID-19!
Links:
-
Appliance, FAQ and Instructions Download
-
Folding At Home
-
Team Fusion stats